Creating a virtual machine in VMware is a straightforward process once VMware server is up and running. to learn how to setup a VMware server check my previous post on how to setup a testing network using VMware server. Today we will setup a virtual machine in VMware console to host our Windows Server 2003 for our testing network domain controller.
Once you’re logged in on your VMware server console, you should be able to see the following screen:

On your left hand top corner click on Create Virtual Machines, and the following window should pop up:

Choose a descriptive name for your virtual machine, in our case is “Windows Server 2003″ leave the Datastore as [standard] and click next.
On the following screen you will be asked to choose your guest operating system:

Choose a descriptive name for your virtual machine, in our case is “Windows Server 2003″ leave the Datastore as [standard] and click next. On the following screen you will be asked to choose your guest operating system.

Select your desired operating system installation, in our case is Microsoft windows Server 2003 Standard Edition. Click Next. The next screen is important. in this screen you need to select the amount of memory you want to allocate for the virtual machine:

For this virtual machine I have allocated 384 MB and chosen 1 processor for the system. remember that these settings impact the performance of your physical machine as well as the virtual machine, so choose them carefully. On the next screen, you will need to create the size of the virtual disk the virtual machine will use:

Click on Create a New Virtual Disk and the following screen will show up:

We will make the hard drive size of 10 GB for Windows Server 2003. for our network testing purposes that should be enough.for location, leave the default one. click next.
On the next screen, we will need to select the network adapter:

Click on Add Network Adapter and the following window will show up:

Select which network adapter your virtual machine will use. when you install VMware server it creates some bridged virtual network adapters on your physical machine, choose Bridged and click next.
Next, we will need to select which CD/DVD drive for our virtual machine will use:

Click on Use a Physical Drive, and the following windows will show up:

Choose the physical drive letter of your computer, in this case is drive letter E: make sure the “Connect at Power on” option is checked.
Next, we need to choose if we need a Floppy drive for our virtual machine. I won’t use a floppy drive on this virtual machine so:

Click on Don’t add a Floppy Drive and click next:
On the next screen, we will need to choose if we want to have access to the USB controller in the host machine. I think this should be useful:

Choose Add USB Controller and click next. Next you will get the summary of the settings of your virtual machine:

At this point, the creation of our virtual machine is ready to complete. clicking on Finish. the setup now should be completed!
Now, the name of of your virtual machine should appear on the right hand top corner on VMware console indicating the virtual machine has been created. now you are ready to begin the server 2003 installation.

Now, if you click on the Console tab, it should bring you to the virtual machine installation process, but if you installed VMware server the way I did, you most likely will encounter this error:

_________________________________________________________________________________________________________________________________________________________________
In the Above post we troubleshot a small issue when opening the virtual machine through the console.
We can read the post here “error opening the remote virtual machine” Now i am going to install windows server 2003 in that virtual machine to setup the domain controller in testing network. Once you login to the VMware server console, you should be able to see the virtual machine in the right top corner we created in a previous post, you can read the post here “creating a virtual machine on a VMware server”

Click on the “Windows Server 2003″ virtual machine, and then click on the console tab:

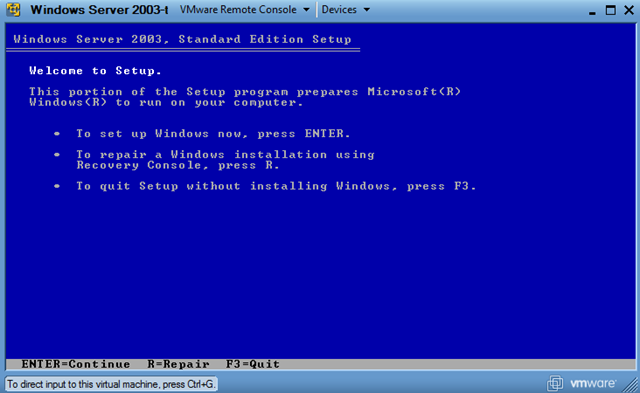
Then click on the white arrow to turn on the virtual machine on. once you have turned the virtual machine on, the Windows Server 2003 installation wizard should come up:
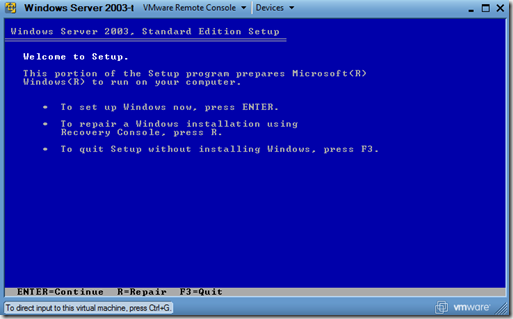
Make sure the Windows Server 2003 CD is inserted in the CD-ROM and press ENTER to continue the installation of Windows Server 2003.
The Windows License agreement will come up next, press F8 to accept the agreement.
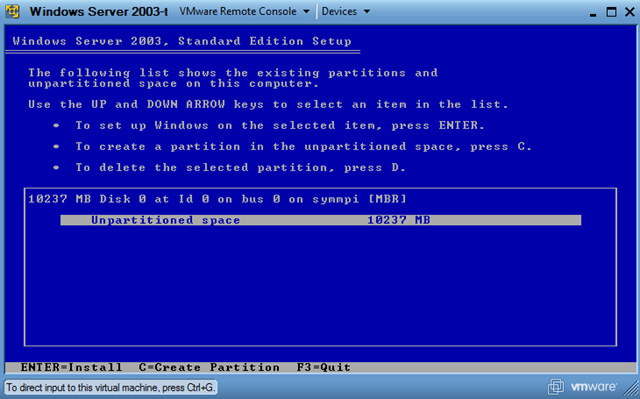
Next, the setup will ask you where you want to install the server, and the 10 GB of un-partitioned space will show up:
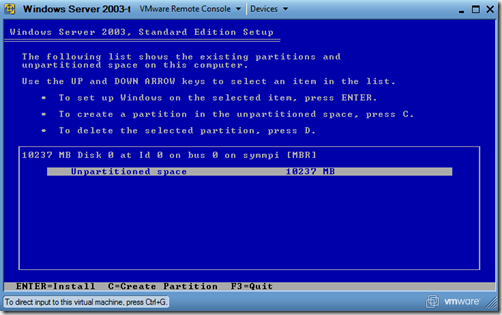
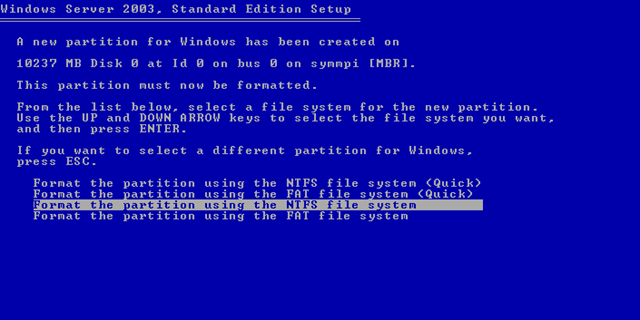
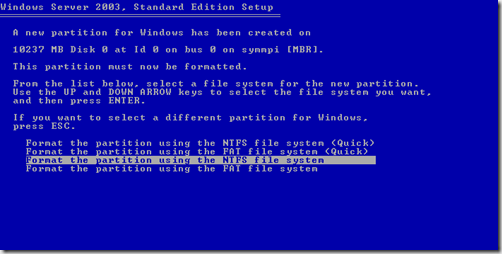
Press “Enter” to continue the install. In the following window, you need to format the drive with NTFS file system:
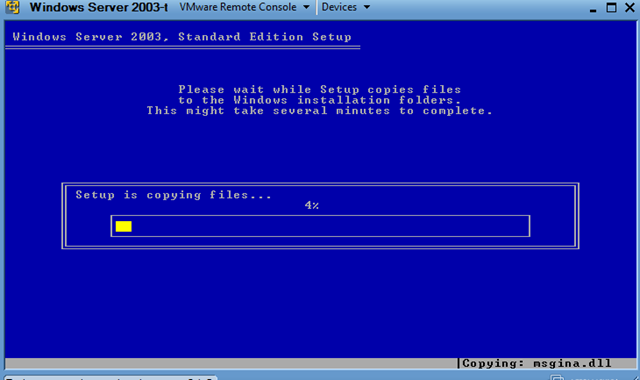
The formatting should start. quick after, setup will start copying the system files to the hard drive:
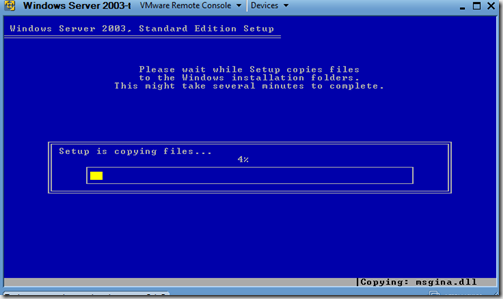
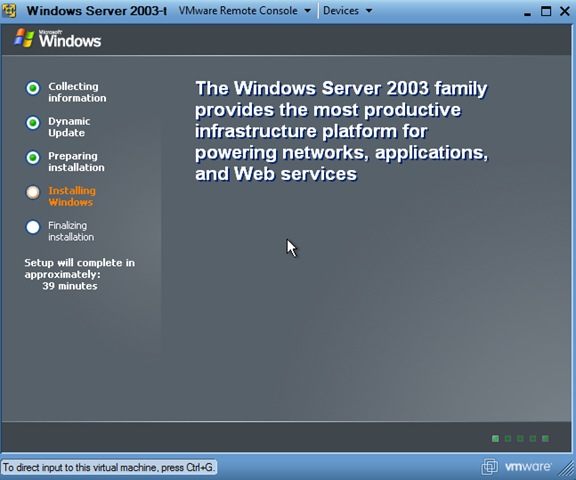
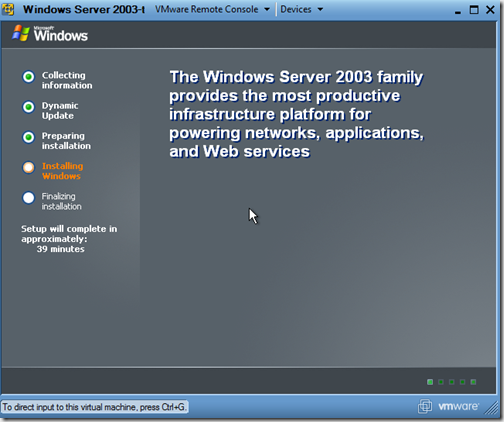
That will take awhile. Then the computer will restart. The Windows Server 2003 setup will continue.
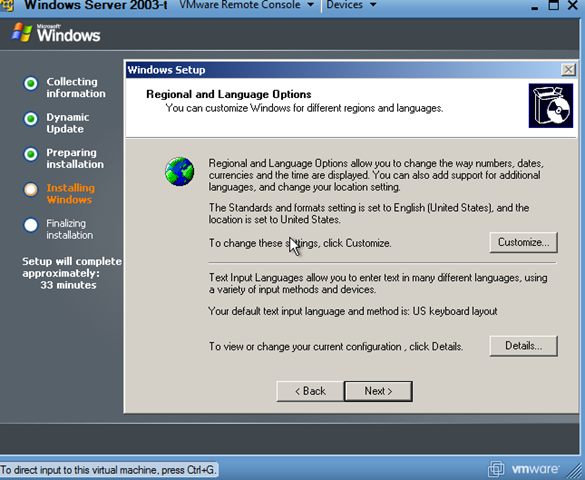
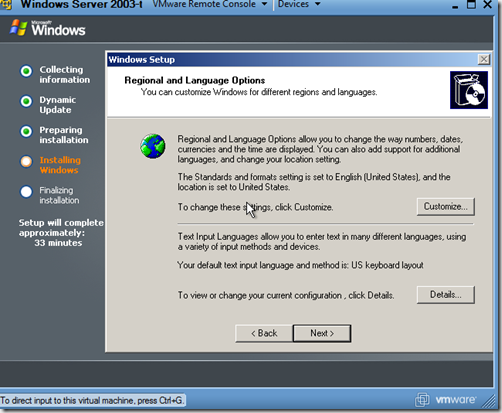
Next, the regional and language settings will come up:
Next, choose the name and organization. Next you will need to Enter the product key. if you downloaded Windows Server 2003 from the Internet, make sure the Product key was included.
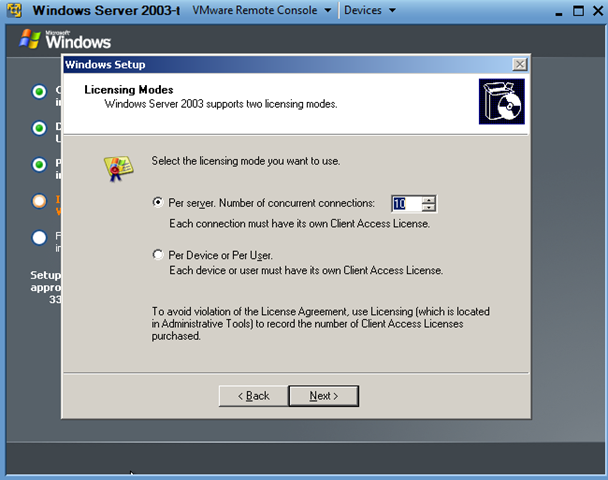
After you have entered the product key, click next. On the next window, you need to choose between per server or device mode. Choose per server mode, and increase the concurrent connections to 10:

Click Next. On the next window, name the computer, and choose an administrator password.
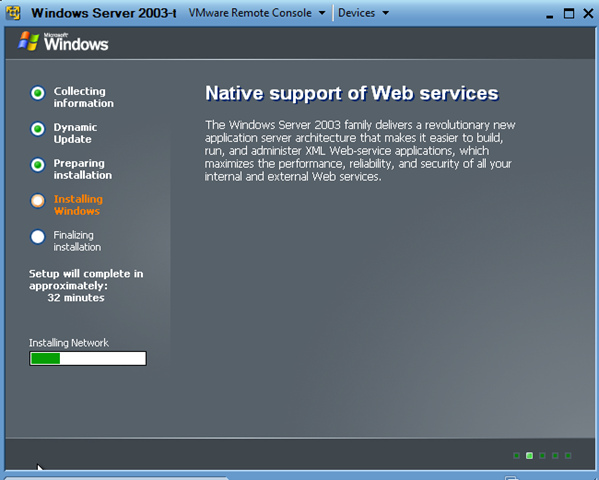
Click next. On the next screen, you need to specify the time and time zone you are at. And that will be the information windows 2003 server will need for now, the installation should continue:
Next, Windows setup will ask you for network settings. choose typical and click next. Next, setup will ask you if you want to join a domain or leave it as workgroup. leave as Workgroup because later we will make this computer a domain controller. click next.
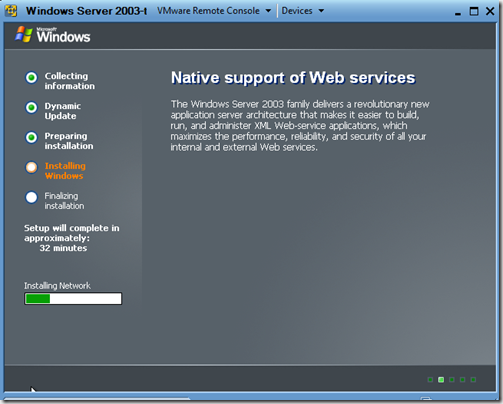
Setup should continue. The installation of Windows Server 2003 should now be completed.
How To Install Windows 2003 Server Quick & Simple
Windows Server 2003 VMWare Install Tutorial
How To Install Windows 2003 Active Directory
How To Add a New Computer to Windows 2003 Server Domain
How To Add a Group To Windows 2003 Server Domain
How To Add a Group Policy in Windows 2003 Active Directory
Windows Server 2003 - File Server & Shadow Copy
How to Recover an Active Directory object