Enter a name for the policy that you're creating.
Now use the checkboxes to control the device's password policy, and whether or not you want attachments to be downloaded to the device. There is also checkbox you can use to let Exchange 2007 know that you have non-provisionable devices.
Click the New button and the new ActiveSync mailbox policy will be created.
Click Finish to close the completion summary screen.
Step 4: Creating users and mailboxes to complete the ActiveSync configuration
The final step is to assign the ActiveSync mailbox policy to the users. The problem is that, because this is a brand new Exchange Server deployment, there really aren't any users yet. So let's jump ahead and learn how to create some users and mailboxes so that we can finish the ActiveSync configuration.
Begin the process by creating a few user accounts through the Active Directory Users and Computers (ADUC) console in the same way that you normally would.
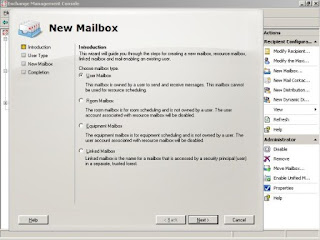
After you've created a few user accounts, go back to the Exchange Management Console and select the Recipient Configuration container.
Now click the New Mailbox link found in the Actions pane to launch the New Mailbox wizard shown in Figure